
This post is the second part of a tutorial on the development of a Python-based Natural Language Processing (NLP) API. You can read Part 1 here, where we developed a single function that uses Spacy and Flair to perform sentiment analysis and entity detection on provided text.
In Part 2 of the tutorial, we will create the API with FastAPI, and integrate the NLP function that we have developed. All of the code for this tutorial, and all examples that you see below are available on Github.
Your first FastAPI web application
FastAPI is designed to be fast; both in a performance sense, and in the development sense! There’s a host of features that help you write scalable, error-free, self-documenting API routes as quickly as possible.
Creating the application file
Create your first, simplest API with just a simple GET route that you can test from your browser by creating a new file, simple_api.py with the following lines:
from fastapi import FastAPI

# This command creates the web-"app"
app = FastAPI()


# Add a simple GET response at the base url "/"
@app.get("/")
def read_root():
    return {"test_response": "Hello World!"}
This code creates a web application that has a single function accessed at a single “route”, “/”. Save the file as simple_api.py. To start the application so you can test it, you’ll need to run the Python file from a console, or from Pycharm or VSCode etc.
Installing libraries
To run in a console, open a console or terminal (I’ve used and liked Cmder in Windows, and iTerm in Mac as replacements for the defaults), and activate a virtual environment for this project. Initially, for this simple example, you will need to only install fastapi (our web application library) and uvicorn (server software to host our web application). In these examples, I’ve run the code with Python 3.9.
# if you don't have a Python virtual environment set up - create one with:
python3 -m venv venv

# Activate your environment:
source venv/bin/activate

# Install fastapi and uvicorn
pip install fastapi
pip install uvicorn[standard]
Starting the API
You can now start your new api with dynamic reloading (the server reloads your files if you make a change) using:
# Start uvicorn with your app using format filename:app_name
uvicorn simple_api:app --reload

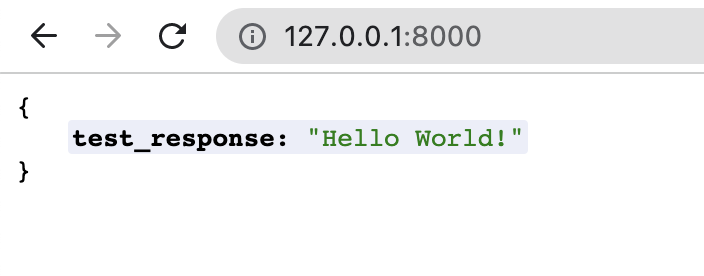
The console output will inform you “where” the application is available – it will be “running” in your terminal window, but “serving requests” at the address shown (typically http://127.0.0.1:8000). In this case “127.0.0.1” is the default IP address of your own machine (also called “localhost”), and 8000 is the “port”. You can visit your new application by opening a browser tab and typing this address (or “localhost:8000”) into the address bar.
Testing the API in your browser
Visiting your application with your browser, your browser sends a “GET” request to the API, on the “/” route, and this request activates our “read_root” function in the API script (because of the @app.get("/") decorator). You can see that the API response is the same dictionary that we defined in our simple_api.py file, converted to JSON and printed in our browser (mine looks different since I use “JSONVue” in Chrome).
Get familiar with things by changing the API response, refreshing the browser window, and even changing the “route” that the response is served at by editing the line @app.get("/"), e.g. @app.get("/anything-you-like").

Adding a POST route in FastAPI
REST HTTP Verbs
HTTP requests use different “verbs” to communicate. By far the most common, and the one used to view webpages, is the GET request. GET requests are used constantly by internet browsers (like whatever one you’re looking at), to ask for web pages and data for display on your screen.
However, there’s actually seven different HTML verbs that you can use at any address. When used with API design, it’s common to use the verbs for predicable/known operations. Many APIs that deal with data records follow “REST”ful design principals. The verbs, and their common uses, are:
- GET – fetch an entry or set of data from the API
- POST – Create a new entry on the API
- PUT – Update or replace a entry
- DELETE – Delete a record from the API
- PATCH – Modify a given entry
- OPTIONS – Find out the available REST operations
- HEAD – Provide information about an entry. This operation gives the same headers as GET, but not the data itself.
Of these verbs, GET and POST are the most commonly used.
POST Requests and JSON
POST requests are typically used to create an entry in an application, or send data to the API for processing. The data is included in the body of the request, often using JSON formatted data (Javascript Object Notation). JSON looks quite like Python defined dictionaries. For example, a valid JSON object could look like:
{
    "firstName": "Shane",
    "lastName": "Lynn",
    "addressLines": ["Dublin", "Ireland"],
    "favouriteBlogs": [
        {
            "name": "Shane's Blog",
            "url": "https://www.shanelynn.ie",
        }
    ]
}
Add a POST option to your API
In FastAPI, you can set a route to accept POST requests using the @app.post("/route-name/") decorator. Interestingly, you define the format of the JSON data that you expect to receive as an object using pydantic , a library to manage data validation and Python typing.
Our API script can be updated to add a POST route that receives a dictionary in JSON with a single key “query” that contains a string. The format will be: {"query": "This is the text to analyse"}. We define this format in the API code using a “BaseModel” class from Pydantic with a single “query” entry of type “str”.
Run pip install pydantic before running this version:
from fastapi import FastAPI
from pydantic import BaseModel

app = FastAPI()

# Define the expected JSON format as a class from Pydantic:
class QueryString(BaseModel):
    """
    This class only contains one element, a string called "query".
    This setup will set Pydantic to expect a dictionary of format:
    {"query": "Some sort of string"}
    """
    query: str


# Add a simple GET response at the base url "/"
@app.get("/")
def read_root():
    return {"test_response": "Hello World!"}


# Set up a route that is accessed with POST and
# receives the dictionary format defined by "QueryString"
@app.post("/analysis/")
def analyse_text(query_string: QueryString):
    return {
        "dataReceived": query_string,
        "success": true,
        }
Testing POST requests using cURL or Postman
You can’t easily test your new route with POST data from your browser window since you need to send a POST request, and browsers send GET requests when visiting sites. I recommend installing Postman, a useful client with a UI for testing and creating POST (and other) requests. You can also use cURL directly from the terminal.
Start the API again, or let it reload the new code, with uvicorn simple_post_route:app --reload (use your own file name as appropriate).
Now, you can open a second terminal window and send data to your API using cURL. Note, when using cURL (and all HTTP POST requests), you need to specify the “content type” of the request data, and in this case, specify that you are sending JSON data:
curl -X POST -H "Content-Type: application/json" -d '{"query": "This is a test"}' http://localhost:8000/analysis/
You should see the response echoed directly back to your console window, as expected:
{"dataReceived":{"query":"This is a test"},"success":true}

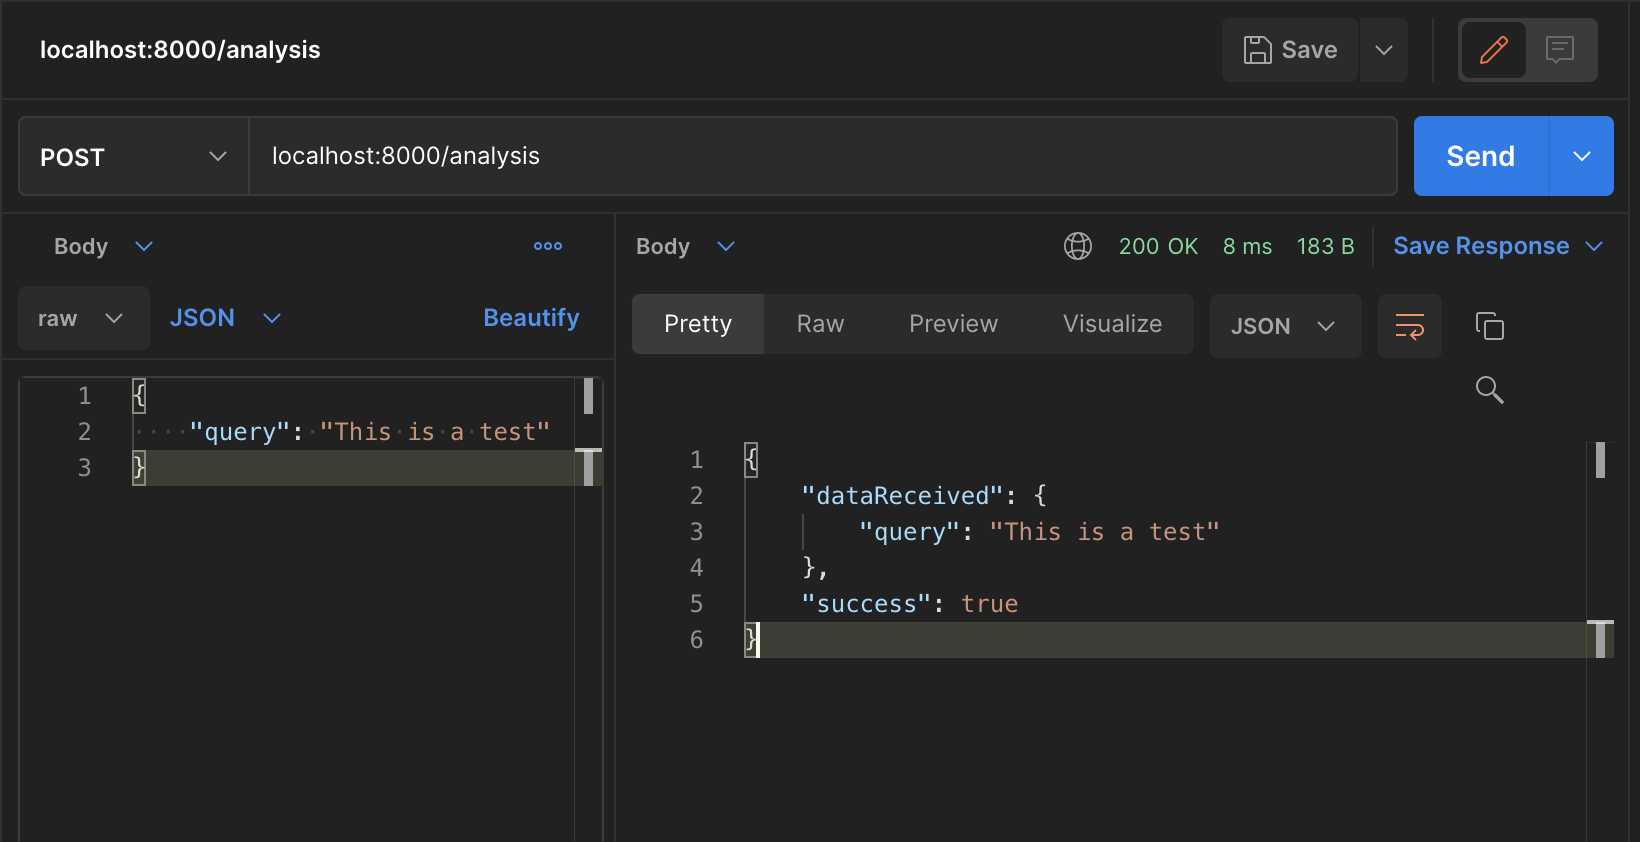
If using Postman, the GUI will help you send the request. Make sure to set the Body to contain your JSON, of format “Raw” and content-type, JSON.
Bring it together – Your NLP API
You can now combine your knowledge of POST request handling in FastAPI with the sentiment and entity detection function that. we developed in Part 1 of this tutorial. The final full application (assuming get_entitites_and_sentiment is defined in a file get_entities_and_sentiment.py in the same directly as the FastAPI file as in the tutorial Github repo) is:
from pydantic import BaseModel
from fastapi import FastAPI
from get_entities_and_sentment import get_entities_and_sentiment

app = FastAPI()


class QueryString(BaseModel):
    query: str


@app.get("/")
def read_root():
    return {"test_response": "The API is working!"}


@app.post("/analysis/")
def analyse_text(query_string: QueryString):

    sentiment, entities = get_entities_and_sentiment(query_string.query)
    return {
        "query": query_string.query,
        "entites": entities,
        "sentiment": sentiment,
        }
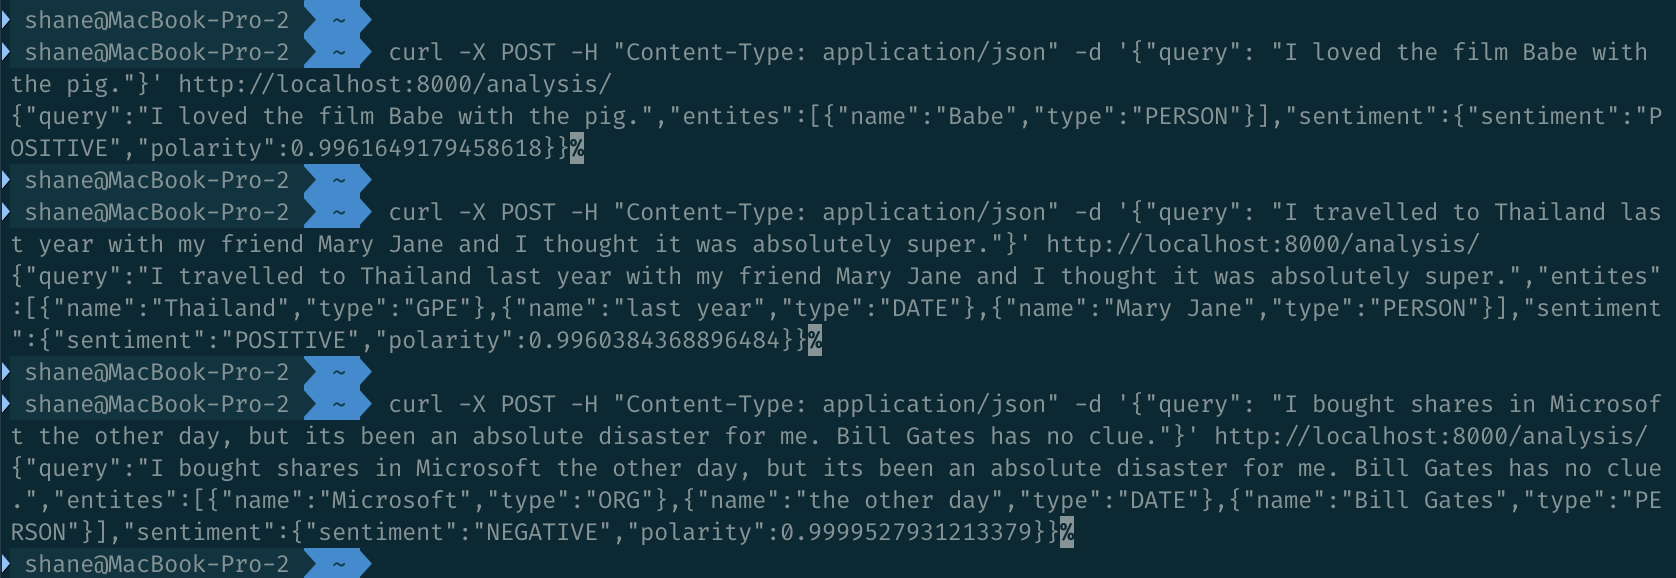
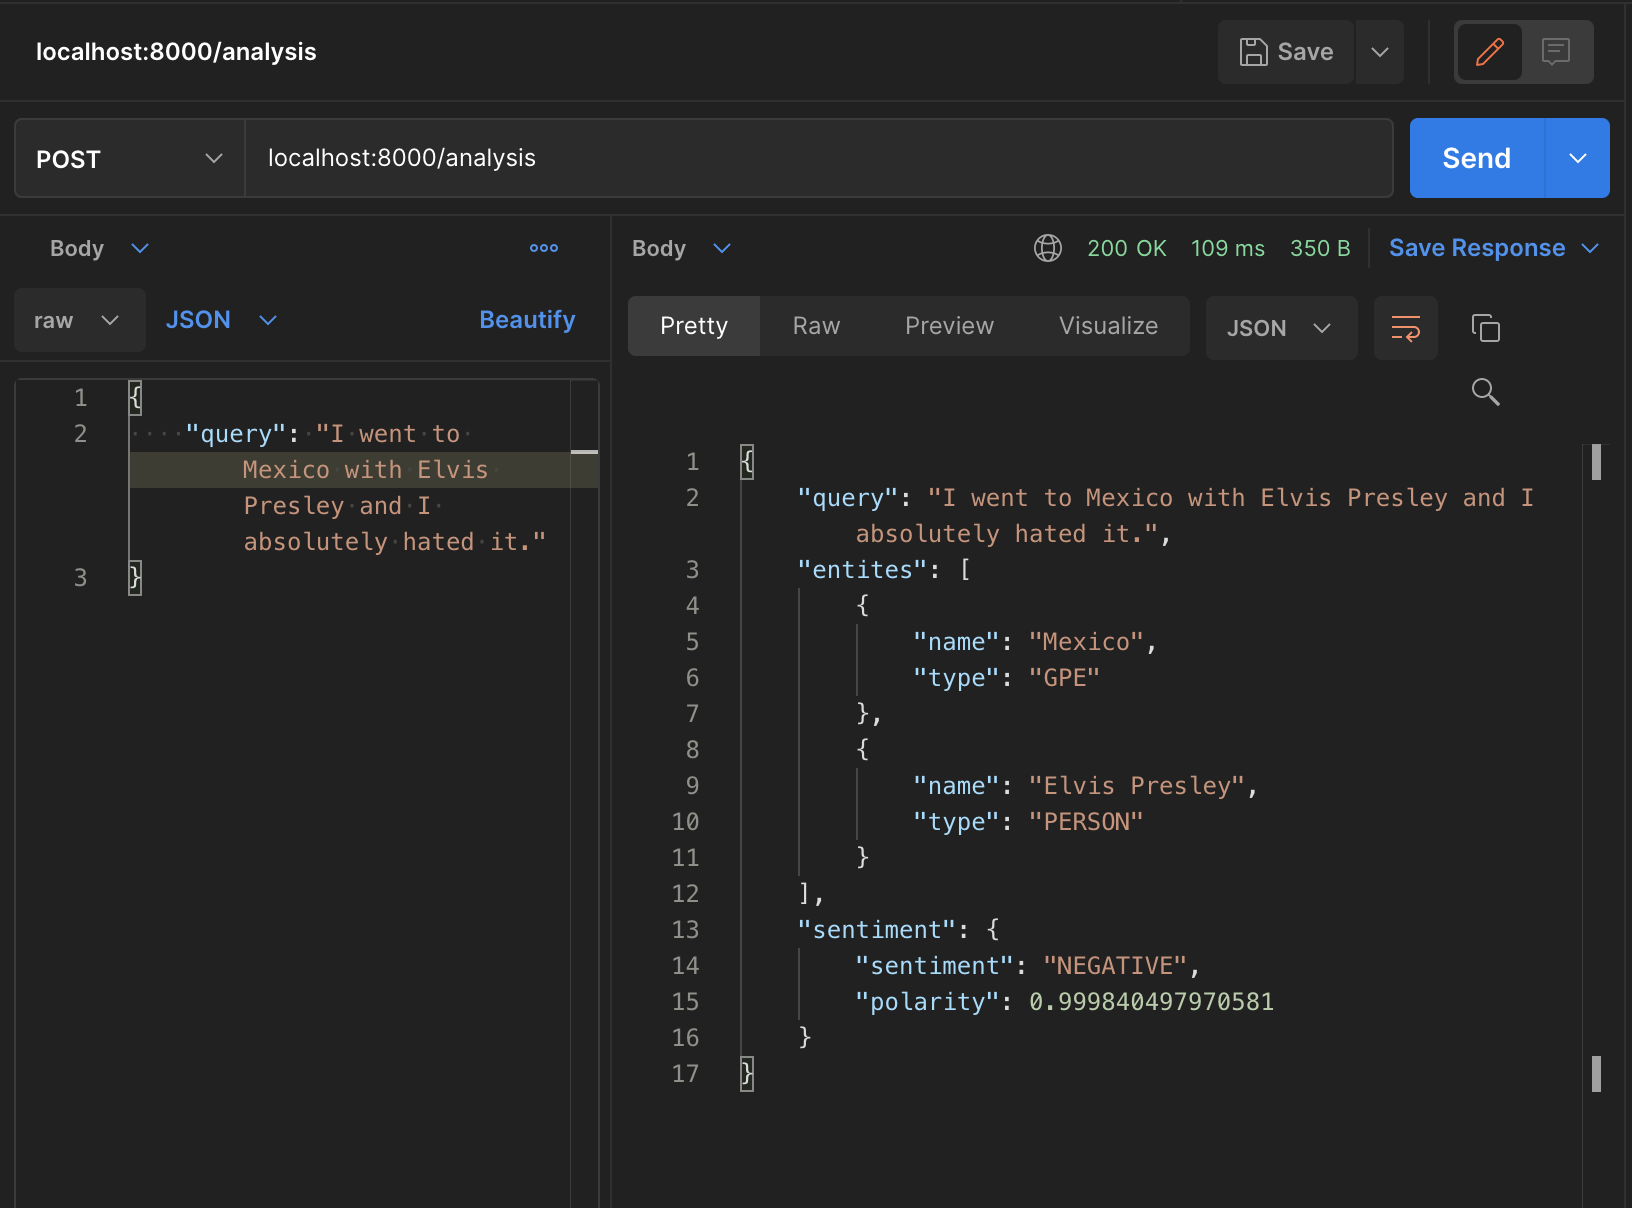
This application should respond with relatively accurate entity and sentiment scores for any text that you send it. In particular, it will work well for “review-type” texts, upon which the language models in use were most likely trained originally.
Conclusion
Well done – you’ve created an end-to-end API that can perform some basic NLP tasks on text that you send it. In a follow on post, we may look at how you put that API on the internet to make it accessible to a website, python script, or another user.
The language-processing tasks this API is completing were non-trivial only a few years ago, and this API is managing it with less than 60 lines of code – showing how quickly the NLP world is advancing.
Of course, improvements are possible, if you are keen:
- The system will only process one request at a time, so the rate of processing is severely limited. An expansion. to asynchronous operations would be the next step (note this is easier said than done, since the NLP operation is CPU bound, and hence a queu and multiple processes may be the road to go down).
- As mentioned, the API will be very memory intensive since we’re using two different language processing libraries with full loaded models for each.
- There’s no user authentication or any security; if this app were accessible from the internet, anyone could send data to it.
- If you expected lots of repeated text or sentences, a layer of caching on the requests would be good practice to improve performance.
I’ve wrapped all of the code and examples for this post in this Github repository – I hope that it is useful for some readers. Best of luck with your AI and NLP API adventures!
Awesome tutorial Shane! And totally agree with feeling like a hacker from the Command line!
Although I’ve stumbled my way through tutorials and have virtual environments & VS Code running/compiling everything.
Well mostly, I have some issues with Happyface,Streamlit packages 😛
[…] navigation ← Previous PostNext Post → Subscribe Notify of new follow-up comments new replies to my […]